Showing posts with label paint. Show all posts

Sunday, October 7, 2012

The Never-Ending Paint Project

Back for my yearly+ update.  Seriously, I should keep this at least a little more updated.  Oh well, so much to do, so little time these days.

While I occupied our 2 1/2 year old this summer, Jim worked quite a bit on the front of the house, and his dad came over to help as well.  Lots of scraping and sanding and painting.  The trimwork had super thick layers of paint on it - all in horrible condition.


Jim, multitasking while working on the 2nd floor bay window.  Look at how nice and smooth all that paint looks.


 I love how the paint looks.  And I love that we don't look like the crazy neighbors that can't finish what they started!

And here was my futile little project - the dog beds.  I used up 2 days of vacation to make these boxes with casters on the bottoms (designed to have them roll under the bed when not in use).  I bought shredded foam beds from here and then made zippered pillow cases out of bonded leather from Fabric Place Basement.  I was so excited about them.  The dogs, on the other hand, didn't want anything to do with them.  The wheels freaked Abbey out, and even when I put rubber cups on the casters, the damage was already done.  And Oscar occasionally laid on them, but mostly only when I put him there.  I even tossed the old ratty disgusting beds.  Pretty much useless.  Oh well.


Sunday, July 3, 2011

Back to Painting

We've been working on painting the outside of the house now for several years.  See this post from 2008, and that was even a year or two into the painting. When I first started, I did these color swatches on the back of the house to see what color I liked best. 

We noticed that those swatches are still holding up fairly well, even though there was no prep work done on them at all and the condition of the clapboards was/is pretty horrendous.

Combine that with the fact that we have a 5 - 10 year plan to redo the back of the house - meaning that I don't want to put a whole lot of work into something that's going to be torn down.  So we decided to just do a quick scrape of the loose stuff and paint right over it.  Only missing or totally broken boards were replaced.  Windows & trim were ignored for now.  I certainly didn't bring out the Paint Shaver Pro or the IR heater!


Time is still very limited, so with my snail's pace, I did one wall of the bumpout-bumpout a couple weeks ago, and I did another wall yesterday.

Good enough, I say.  In the past I've talked with my father - he says that I have the ability to know when something is good enough.  His brother still hasn't put siding on his house 25 years later because he can't get something perfect - whatever that "something" is.  Well, it may take me 10 years to finish painting the house, but the back will only be good enough to not annoy the neighbors before it gets torn down.

In other house news, we also got a couple of sections of fence put up.  The fence is mostly functional - so that our 2 big 70 lb doodle dogs can run around while we're out there doing things.  Our next door neighbor, Joyce, took the chain link fence between our front yards down, and we put that one in the back, where all the weird hobbled together chicken wire fencing was.  Then she had her contractor put up a cedar picket for the back half,

and we used him to put up a vinyl picket (we didn't need something ELSE to paint) with a gate going across our driveway,

and a couple of sections in the back that are visible from the front.
We wish we could have had the whole yard done, but we did what we could with our current budget.

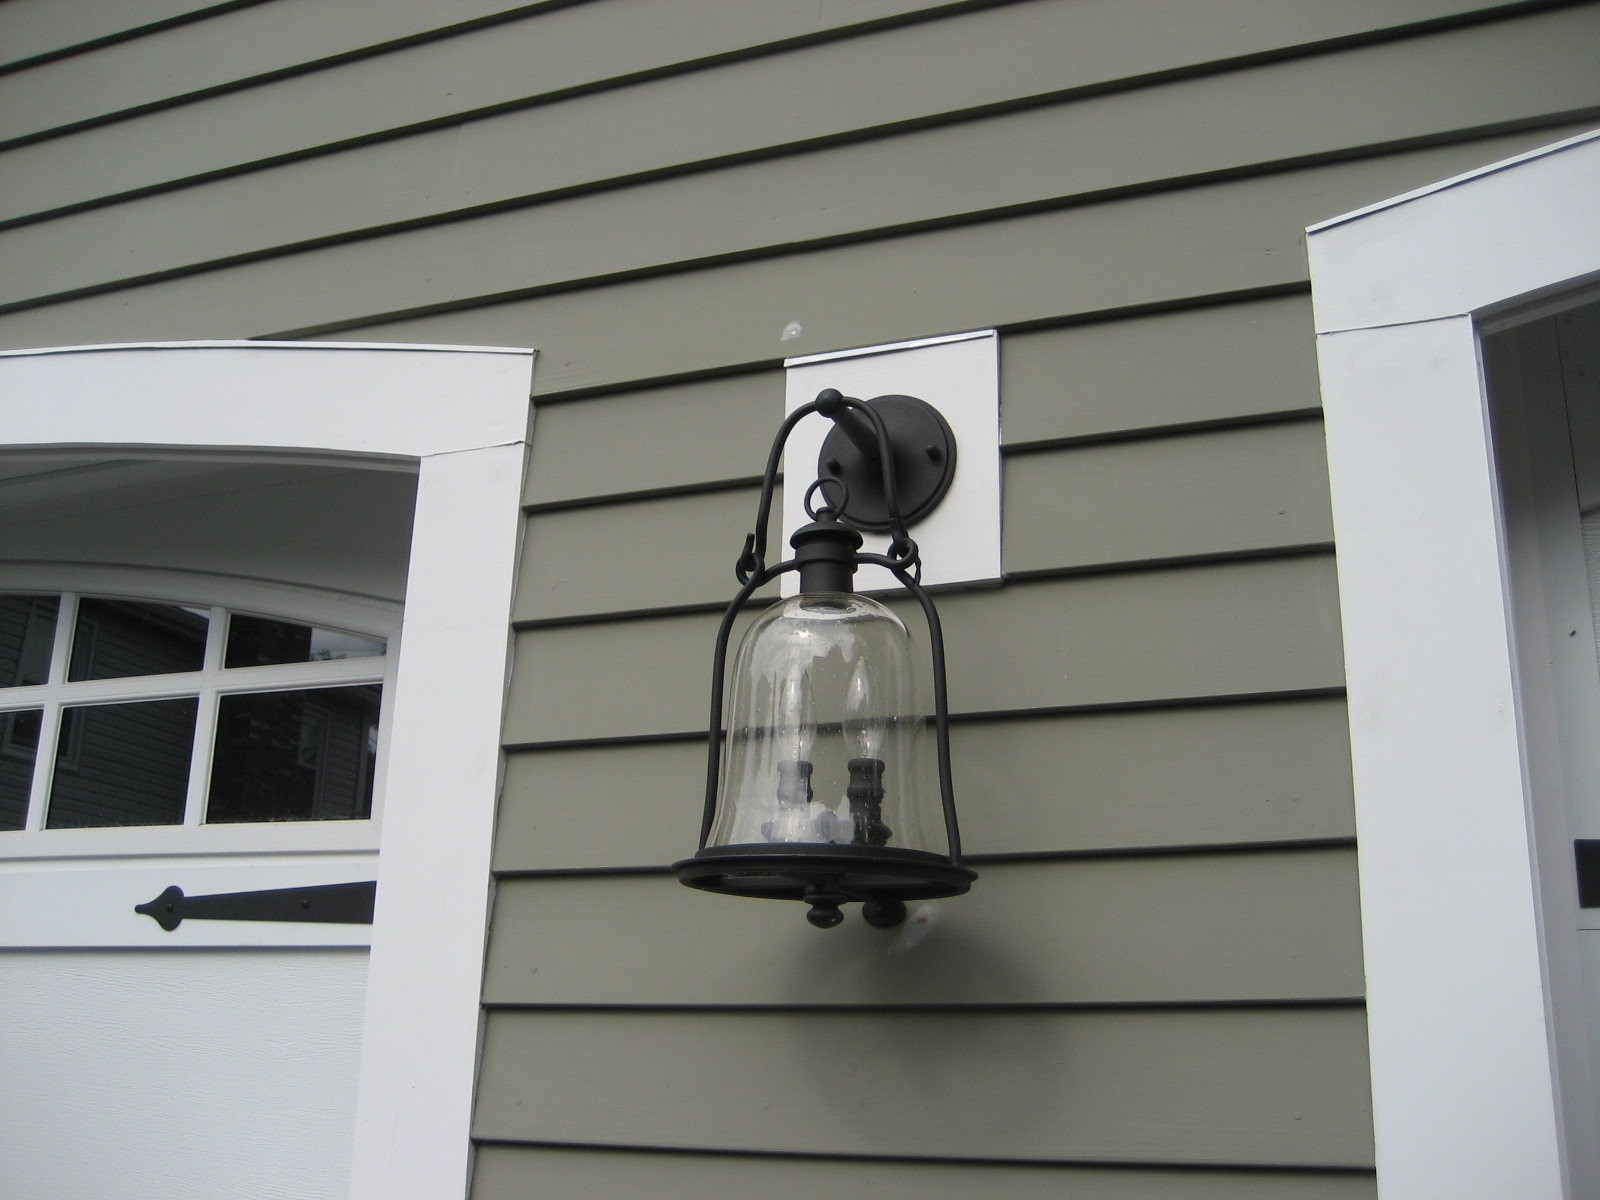
You might have noticed in that picture with the gate, that the front of the garage is painted now.  If you have good eyes, you also might have seen that the lights I was drooling over in a previous post are now up!  Those were a gift from Jim.  I love them every time I see them.

And here's a picture of the house as it is now.  Still work to do on the 2nd floor bay and the gables....  Aside from the garage being painted and the fence up, it doesn't look a whole lot different from last year.  But the rose bush is going crazy and looking great again!


Thursday, January 1, 2009

One - One Working Door!

That's right - all the hardware is back on and the door is back up. Here's a look at the installed doorknob & backplate:


The plain hardware is kind of growing on me - now that it's all put together. It doesn't exactly match the rest of the nickel & chrome stuff in the bathroom... but I'll probably live with it for now.

We were pretty close to having the door fit, but had to chisel out a little bit at the striker plate:


Here's a picture of the door all closed from inside the bathroom:


It might not look very exciting - but believe me, our next guests will be very happy to have actually have the privacy! The only wierd thing is that the door was poor fitting for so long and people had sort of jammed the door closed, that the top corner of the door is literally bent out - so it still sticks out a little when the rest of the door is closed...

Now it's time to start work on the 2nd door. To better understand the issue and why I am scraping the doors down to bare wood, here's some pictures of the 2nd door...


Maybe I'm obesessive, but it really annoys me when there's giant paint chipped areas that have just been painted over. Or when it gets all gummed up and nasty at the edge. yuck. It's like those little "shabby chic" places that have peeling paint as a decorative element - blah! just makes me feel like scraping it off.

Anyway - here's a view at the different paint layers inside the bathroom:


From latest to earliest, the trim has been
-white (painted by me)
-lilac (the existing color when I moved in)
-mint or sea green (very similar to what is on the walls now)
-tan-like apricot
-mauve
-cream
-tan
-dark stain or varnish

What a crazy rainbow of colors! I have a personal preference for white painted trim but I'm pretty sure that the mauve, apricot, green, and lilac were all the work of the Fanaros (POs). When you're painting something lilac, why stop at the trim???


From the first picture you can see that not only was the beadboard painted lilac, but also the bottom of the tub. And then in the second picture (mid demolition) you can see that the trim and top of the walls were painted lilac also. Yikes. It was like a purple nightmare. That purple still peaks through now and again, and it still makes me have bad dreams.

Sunday, December 28, 2008

Peeling Paint

I finally finished scraping and sanding the paint off the first bathroom door. Yesterday I brought all the hardware upstairs and contemplated back and forth about getting new (though period reproduction) hardware, but because of my analysis paralysis, decided to go ahead and clean the old stuff up and see what I had under all those layers of paint.

I remembered reading somewhere about boiling paint off old hardware, so I Googled it to figure out what the actual directions were. Seems several other renovators have used this method and had relatively good things to say about it (paint removal kinda sucks, no matter what) Here's some directions from This Old House magazine.

Here's what I started off with:


I don't actually own an old crock pot, and wasn't about to make a trip to Goodwill. BUT I had just gone through my cabinets to finally throw out old mismatched pots I had from college... so I pulled one of those back out of the trash and used it. The other thing is that I didn't have enough patience to wait overnight to cook the stuff off. I'm not entirely sure it really needed it anyway.


Mmmm... yummy - door hardware soup in a lead paint broth - maybe an entry into next year's soup party??

And here's the final result for the backplates and the doorknobs:


Not too bad for paint removal... but not that exciting of a result. I suppose like most things Folk Victorian, it's pretty plain. The hinges are even less exciting.

The latest project house for TOH has some hardware pictures that are making me salivate...


My searching has me narrowing it down to something like these from House of Antique Hardware for the backplates (at around $30 each):


The dark one only comes in that finish, but I can get the brass one in other finishes... (I can't deal with shiny brass)

There's something wrong with the website right now, but I also found some neat backplates and hinges at Historic House Parts. I like some of the styles in their HHP classics collection...

Ah... I love hardware. Maybe I should take a trip to a few salvage yards while I'm off this week and see what they have... The only bad thing about that is that it's not likely that I'll find enough to have all the doors match. Then again, I'm not sure I really need all the doors to match.

Sunday, October 19, 2008

Dueling Ladders

I finished the 1/2 posts this weekend Here's a view post painting on Saturday:


As I was finishing these up, Jim went to Homer to pick up some hardi-plank/board-fake-wood stuff to cover the crappy porch soffits (no way we were going to strip thick paint while looking up - imagine neck aches, paint chips in the eyes, and no way to leverage the scraper...) Anyway, he comes back with the materials... and a new ladder! He was so excited about his new ladder, I had to capture it on camera. Warning, though - this is rated PG-13 for some gratuitous use of mild profanity... sorry Mom.


Just to put my reply in context, we've been using a little 6-foot wooden step ladder, left in the garage by the previous owner, for the past 4 1/2 years. Jim likes to say that it wobbles, but I contend that has more to do with the uneven ground than the actual ladder. Besides, if you follow ladder guidelines and don't step on the top two steps, it's all good.


So anyway, Jim used the new ladder to put up the cover-up soffits


And I used the old ladder to paint.


Luckily, both ladders do their job!

Then today we put the remaining railing and balusters up. It was not without problems. But I won't point them out, because we don't think anyone will actually notice them. Here's the pictures


A couple of side notes:
-The roofers are scheduled to start sometime this week.
-We turned on the pellet stove for the first time this season.

Sunday, September 14, 2008

Mocking up the Handrails

Most of Saturday was spent sanding and painting the beam. I'm not sure it looks like we did a lot, but it sure seemed to take a while.


We still need to fake some relief on the dark green brackets at the top of the posts, like I did on the bay window, but the paint needs to dry a little more before I do that...

There was some big community event geared at kids that took place on the common on Saturday. When these type of things happen, because we are right in downtown, our street becomes a parking lot, and we have a lot of extra traffic passing by. We had a lot of people saying they liked the color scheme (now that it looks like a color scheme and not just a pink house). Jim and I joked that we'll be starting a trend... only everyone else will have their houses done before we can even finish our porch...

Speaking of finishing,

I had visions of going all agro-renovator and getting the handrails put up this weekend too. THAT didn't quite happen, but we did get some parts cut out for two of the sections.

Here's Jim checking out how the subrail works. It took a couple tries to get a tight fit with the subrail between the posts. Not having any carpentry training, we kind of learn as we go - I'm sure there's plenty of tricks of the trade that we don't know...


And then I HAD to pull out the camera to take a shot of a baluster in place:


one day all 50+ of those things are going to see the light of day... one day... hopefully soon.

Then my little side project - the house number! I've been scouring the internet trying to find a cool house number to go on the porch. One fitting of the new improvements. I found a few sites that made cool metal ones in almost any font you can imagine. Those numbers were around 80 bucks. While maybe not a ton of money, I wasn't sure I wanted to spend that much for something that may or may not match the gold paint, and with some roof repairs/replacement pending (more on that another day), I didn't really want to spend the extra dollars anyway. So last night a lightbulb went off, and I decided to make one with the scroll saw and paint it with the same gold paint.

Here it is:


I do have to admit that the number broke in two at that thin spot on top. We had to glue it back together. Maybe it won't last through a New England winter - we'll find out - but, hey, the cost was essentially free, and that can't be beat.

Thursday, September 4, 2008

And the Winner is...

OK, so maybe I influenced the poll with my exclamation point! next to my favorite, or maybe the majority of you just feel the same way I do... But still, even with a paint program, you're never really sure if it will look the same in real life.

Last weekend with Jim home we were able to do a bunch of post painting. Other than the tedious first day of sanding, none of the work was particularly difficult, so it all went pretty easy. Which almost makes me wonder if we worked hard enough? Particularly since it was my last weekend before fall semester started! Oh well.

Jim, by the way, has a much higher standard of finish work than I do. Which is probably a good thing. It comes from all the body work he has done on cars, I think. I don't really have the patience or technique, so he ended up doing most of the detail himself. They ended up looking pretty good.

And then we primed them:


To make all the painting easier, we drilled screws part-way into both ends of the posts and then set them onto notches cut into the sawhorses. That way we could twirl them around fairly freely.

Then to dry the posts, we put more notches into some 2xwhatevers and left them in the garage overnight:


Then on Sunday and Monday we worked on the painting in this garage set-up. It probably would have been more comfortable had it been higher up, but oh well, what's a little back pain?


I thought this was going to be a masking tape nightmare of a project (that's one way to support Mother 3M), but actually, the more that I worked on it, the easier it got, and I really only needed it for the gold section where it went from square post to turned post. Most of the pinstriping was done without tape - a benefit of the turnable setup.

I really like how the gold turned out:


And overall, I think the posts look great!


This is where we ended on Monday afternoon. We cleaned up and called some friends over for a little Labor Day BBQ.

To finish these off, I need to get some semi-gloss pink paint. The flat paint looks a little odd with all the others all glossy.

Then it's make the base plates, picture-frame the porch floor with an edge piece, and install the posts, etc etc etc. A lot to do still, but it's starting to feel good to see it all coming back together.

Thursday, August 28, 2008

Paint My Posts

OK, so I'm getting more and more dangerous with the computer painting (though still not any better). I've got to pick out a color scheme for the posts, as hopefully in the next few weekends, if all goes well, I should be able to start painting.

Starting with a shopped-up photo from before (no, I haven't finished painting the front or putting up the shingles yet... and by the way, the balusters are only computer added as well - hey, it makes it seem a little more like the final product!) Here are my proposals for the post colors... starting with the most basic

All Cream:


Green & Gold:


Green & Pink:


Green, Pink, & Gold!


And just to see it all...


What do you think? If I've done this right, there should be a poll on the right hand side...