Wednesday, February 27, 2013

Thinking About What's Next

We've been thinking a lot lately about what we want to do with the house.  We had some plans done up by MGZ when we built the garage - a "Phase 2" where we connected the house to the garage, added a mudroom, rebuilt the kitchen, and added a master suite above it.  We loved the design and have been working at paying down the mortgage so that we can start our project (a 5 to 10 year plan).

However, things have changed significantly in the past 3 years.  As it turned out, our son has cerebral palsy - which, if you're not familiar with CP, basically is a non degenerative condition where his brain has difficulty sending messages to his muscles.  The effects of CP can be on a broad spectrum, from mildly affected, where you might not even be able to tell, to severely affected, where the person has very little control of any muscles and must be assisted in a wheelchair.  Our son falls somewhere in that spectrum closer to the severely affected.  He is 3 and cannot independently walk.  He does use a gait trainer (a walker for young children) for short periods of time, and has started to learn how to use a power chair at his new preschool, where they specialize in children with physical disabilities.

So where does this put us?  Well, the design is now impractical for our situation.  Most of the house now as it exists, is impractical for the situation.  All the charm of a folk Victorian, with it's chopped up floorplan with doorway divided rooms (all with thresholds), multi stories, and narrow hallways just creates barrier after barrier for our son.  We've lived with it so far, mostly carrying him from the 2nd floor to the 1st floor and back again, and wheeling him around the house ourselves, bumping into (and dinging up) all the door casings.  And that's not even getting into how all the spare space in the house stores one piece of durable medical equipment or another (2 different chair/strollers, a gait trainer, a stander, various tri-wall cardboard seating & table setups)

But... we can't imagine moving.  We've invested so much time in this house.  And we love so many of our neighbors and friends here.  And we're walking distance to all the things that our little town center offers, from the library to summer concerts on the Common.  And we're halfway between Jim's work and my work.  And there's a whole complicated school situation with our son that we have just recently settled, and a new town would mean going through that process all over again.  And of course, the brand new garage.

So our little Plain Jane will have to change.  It needs to be opened up.  It needs to have a smooth floors with no transitions between rooms.  It needs an accessible bathroom.  And yes, I want a residential elevator.  I've started looking around and trying to find ideas.  "Universal Design" really appeals to me.  I don't want our house to look medical, but I want it accessible.

Here's some things from AARP and NAHB that help explain what it means to have a Universal Design

  • No-step entry. No one needs to use stairs to get into a universal home or into the home's main rooms.
  • One-story living. Places to eat, use the bathroom and sleep are all located on one level, which is barrier-free.
  • Wide doorways. Doorways that are 32-36 inches wide let wheelchairs pass through. They also make it easy to move big things in and out of the house.
  • Wide hallways. Hallways should be 36-42 inches wide. That way, everyone and everything moves more easily from room to room.
  • Extra floor space. Everyone feel less cramped. And people in wheelchairs have more space to turn.
  • Reachable controls and switches: Anyone — even a person in a wheelchair — can reach light switches that are from 42-48 inches above the floor, thermostats no higher than 48 inches off the floor, andelectrical outlets 18-24 inches off the floor.
  • Easy-to-use handles and switches: Lever-style door handles andfaucets, and rocker light switches, make opening doors, turning on water, and lighting a room easier for people of every age and ability.
  • Low or no-threshold stall showers with built-in benches or seats
  • Non-slip floors, bathtubs, and showers 
  • Raised, comfort-level toilets 
  • A covered entryway to protect you and your visitors from rain and snow
The list could go on, but that's the idea.  With the aging baby boom population, it's often also called "Age In Place" design.

How do we translate this to our house?  I'm not entirely sure yet, but I'm searching for ideas, we have MGZ coming over in a couple months to review our current needs, and we have a contact for a friend of a friend that will give us a tour of their home that was recently remodeled for their son in a wheelchair.

Here's an architect that specializes in Universal Design.  He set out to show that a 2 story urban house could be universal, and that this design is not destined only for a sprawling ranch.

And here's a home plan that is designed to be accessible.  It's a lot bigger than our house, but I feel like some of this design could be applied to our house's layout.  If you just look at the left side of the house, it's not *too* much different than ours (if you busted out all our walls)


Anyway, those are my first thoughts.  I'll add more of my current ideas later...

Sunday, October 7, 2012

The Never-Ending Paint Project

Back for my yearly+ update.  Seriously, I should keep this at least a little more updated.  Oh well, so much to do, so little time these days.

While I occupied our 2 1/2 year old this summer, Jim worked quite a bit on the front of the house, and his dad came over to help as well.  Lots of scraping and sanding and painting.  The trimwork had super thick layers of paint on it - all in horrible condition.


Jim, multitasking while working on the 2nd floor bay window.  Look at how nice and smooth all that paint looks.


 I love how the paint looks.  And I love that we don't look like the crazy neighbors that can't finish what they started!

And here was my futile little project - the dog beds.  I used up 2 days of vacation to make these boxes with casters on the bottoms (designed to have them roll under the bed when not in use).  I bought shredded foam beds from here and then made zippered pillow cases out of bonded leather from Fabric Place Basement.  I was so excited about them.  The dogs, on the other hand, didn't want anything to do with them.  The wheels freaked Abbey out, and even when I put rubber cups on the casters, the damage was already done.  And Oscar occasionally laid on them, but mostly only when I put him there.  I even tossed the old ratty disgusting beds.  Pretty much useless.  Oh well.


Sunday, July 3, 2011

Back to Painting

We've been working on painting the outside of the house now for several years.  See this post from 2008, and that was even a year or two into the painting. When I first started, I did these color swatches on the back of the house to see what color I liked best. 

We noticed that those swatches are still holding up fairly well, even though there was no prep work done on them at all and the condition of the clapboards was/is pretty horrendous.

Combine that with the fact that we have a 5 - 10 year plan to redo the back of the house - meaning that I don't want to put a whole lot of work into something that's going to be torn down.  So we decided to just do a quick scrape of the loose stuff and paint right over it.  Only missing or totally broken boards were replaced.  Windows & trim were ignored for now.  I certainly didn't bring out the Paint Shaver Pro or the IR heater!


Time is still very limited, so with my snail's pace, I did one wall of the bumpout-bumpout a couple weeks ago, and I did another wall yesterday.

Good enough, I say.  In the past I've talked with my father - he says that I have the ability to know when something is good enough.  His brother still hasn't put siding on his house 25 years later because he can't get something perfect - whatever that "something" is.  Well, it may take me 10 years to finish painting the house, but the back will only be good enough to not annoy the neighbors before it gets torn down.

In other house news, we also got a couple of sections of fence put up.  The fence is mostly functional - so that our 2 big 70 lb doodle dogs can run around while we're out there doing things.  Our next door neighbor, Joyce, took the chain link fence between our front yards down, and we put that one in the back, where all the weird hobbled together chicken wire fencing was.  Then she had her contractor put up a cedar picket for the back half,

and we used him to put up a vinyl picket (we didn't need something ELSE to paint) with a gate going across our driveway,

and a couple of sections in the back that are visible from the front.
We wish we could have had the whole yard done, but we did what we could with our current budget.

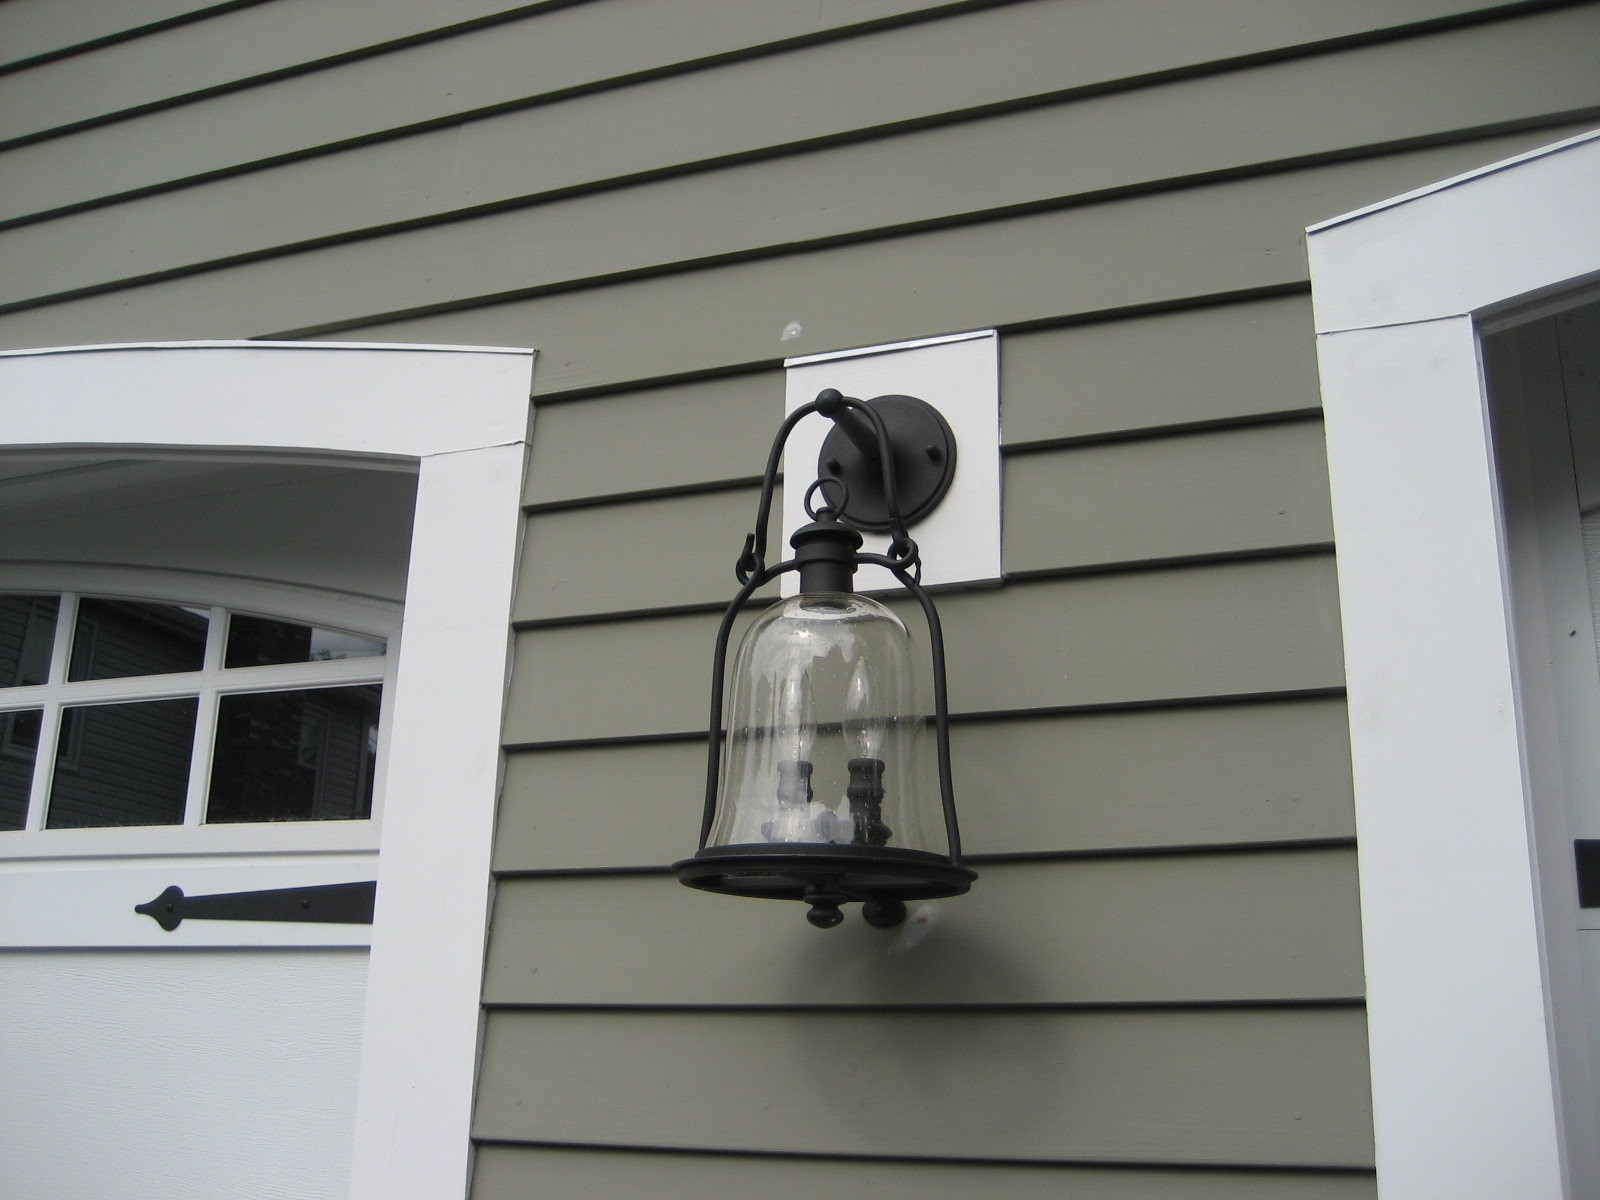
You might have noticed in that picture with the gate, that the front of the garage is painted now.  If you have good eyes, you also might have seen that the lights I was drooling over in a previous post are now up!  Those were a gift from Jim.  I love them every time I see them.

And here's a picture of the house as it is now.  Still work to do on the 2nd floor bay and the gables....  Aside from the garage being painted and the fence up, it doesn't look a whole lot different from last year.  But the rose bush is going crazy and looking great again!


Thursday, January 27, 2011

Finally... an update... and a finished project or two

I have occasionally been doing things around the house.  Not nearly at the pace that I was pre-pregnancy (and I thought I was slow then...)  But every once in a while, I get the chance to chip away at a project.  Vacation days are pretty good for that - I have even a little more time on the vacation days that Morty still goes to daycare.

Right before I had Morty, I was sort of working on a little kitchen cabinet project that I blogged about here. Well, now that the garage is up and partially wired, I braved the cold temperatures, wearing Jim's insulated Dickey overalls and breaking out a couple of those handwarmers and continued working on it over Thanksgiving and Christmas break.


Here's the left side cabinets with their fake shaker frames put together.


 And here's progress on the right side.  As I sanded the door fronts down, I was trying to even out the horrible dents in the wood, that are just magnified by the glossy paint.  I'm not sure if I made things better or worse, but definitely the frames help camoflauge the bad wood.

Here's the right side, with all the frames up, and starting with a coat of primer.  I think I was in a hurry to get things livable when I first moved in, because I used a roller to paint the cabinets.  Definitely it was better than the hideous blue, but the roller pattern got on my nerves too after a while.  This time I only used a brush.  I have a friend (Peter) who can't stand the lines from brushes, so when he painted his cabinets, he only sprayed.  I don't think my spray technique is good enough to leave things texture-free.

I LOVE LOVE LOVE how this worked out!  Of course, it's all just fake shaker, and the problems with the cabinets themselves and the kitchen still exist (especially on blustery winter days, which we've had a lot of lately), but I am so much more satisfied with the way these look - it just adds depth and interest and helps make thing look so much more... classy?  I don't know what the word is, but I like it so much more!


The other project I worked on over Thanksgiving timeframe was a dog feeding station.  I found the plan on This Old House website.  Before I made the project, Abbey's food bowls were a bit of a mismatched, dirty, ghetto mess.  She's SO tall that we even put one bowl on top of another big bowl to get it in a better position for her.  Goodbye ghetto mix of bowls!  (green Pyrex bowl, you go back in the cupboard where you belong!)

Hello feeding station!  Two stainless bowls go in the holes.  If I ever get around to making another one of these for Oscar (it's in "the plan", I'd make a few minor changes - like for some reason, the plans give measurements using the assumption that a 1x12 is actually 12".  I don't know why they did it, and it didn't really end up being a big deal, but it was a little confusing)  Notice the face frame on the feeding station now matches my cabinets?  hmm?  nice, huh?


Then over Christmas I worked on this Vegetable Bin Toybox.  Somehow I found this blog by Ana White, where she has all sorts of furniture plans, broken down and simplified.  I had been eyeing a similar toybox in the Land of Nod catalogue for Morty, but always felt it looked way to simple to spend the money to buy it.  (that's the cheap, penny-pinching side of me coming out - thank you Dad).  Ana had a plan for this box, and so I gave it a try.  Turns out either it's way smaller than I thought it would be, or Morty has WAY more toys than I thought.  Probably the latter.  Again, it's in "the Plan" to make one or two more of these and stack them. 


Then the final thing I worked on over Christmas was this "Vinage Industrial" cart.  It was a combination of an Ana White plan and some other plan I found on the internet, that actually referenced the Ana White plan too.

I decided to personalize it a little bit by spray painting the "Natick, Mass" on it.  I had a much more complex idea incorporating Jim & Morty's name into a fictional Manufacturing Co. - like a real manufuring factory might have had -  but that was way too many letters to create a stencil.  So I went with the simple.

The top of the table is actually made of slats from a couple of pallets.  I think they were the pallets that the wood pellets came on.  They were dirty and gross and needed a lot of sanding, but it sure gave a well-worn look that I was going for.  I put a coating of amber shellac on the whole thing.  I'm not sure whether or not I like the color.  If I were to do it again, I'd probably just do it with clear shellac.  But the amber is kind of growing on me.

I found the wheels on Amazon.  I think they are Albion wheels.  Since I used reclaimed pallet wood and scrap wood from the garage build, the wheels were the most expensive part of this piece!


It doesn't have all the cool hardware of the carts you can find all over at places like Restoration Hardware, Pottery Barn, Barnhouse Electric and the like, but it is a WHOLE lot less expensive!  (if you don't count my time - which IS very precious)

Sunday, June 27, 2010

MGZ done... back to DIY


I should probably update this more than once a month...  but working full time and being a mommy leaves precious little time for blog updates unfortunately!

Anyway, MGZ finished the contract work on the garage.  It looks so fantastic!  We're very very happy with it.  We still have a few things to finish on it - we had to make some concessions to keep it all within a reasonable budget.  So the garage doors and the driveway are coming separately next week.  Then we have been working on the grass, and soon Jim will do the painting and lights. 

Here's the grass - it's coming in pretty nicely.  Jim waters it faithfully every morning and night.  He also put in the gravel to keep the topsoil from splashing back up onto the siding when it rains.
Everything looks so nice and uniform now.  No more big divets in the yard or random cement blocks.
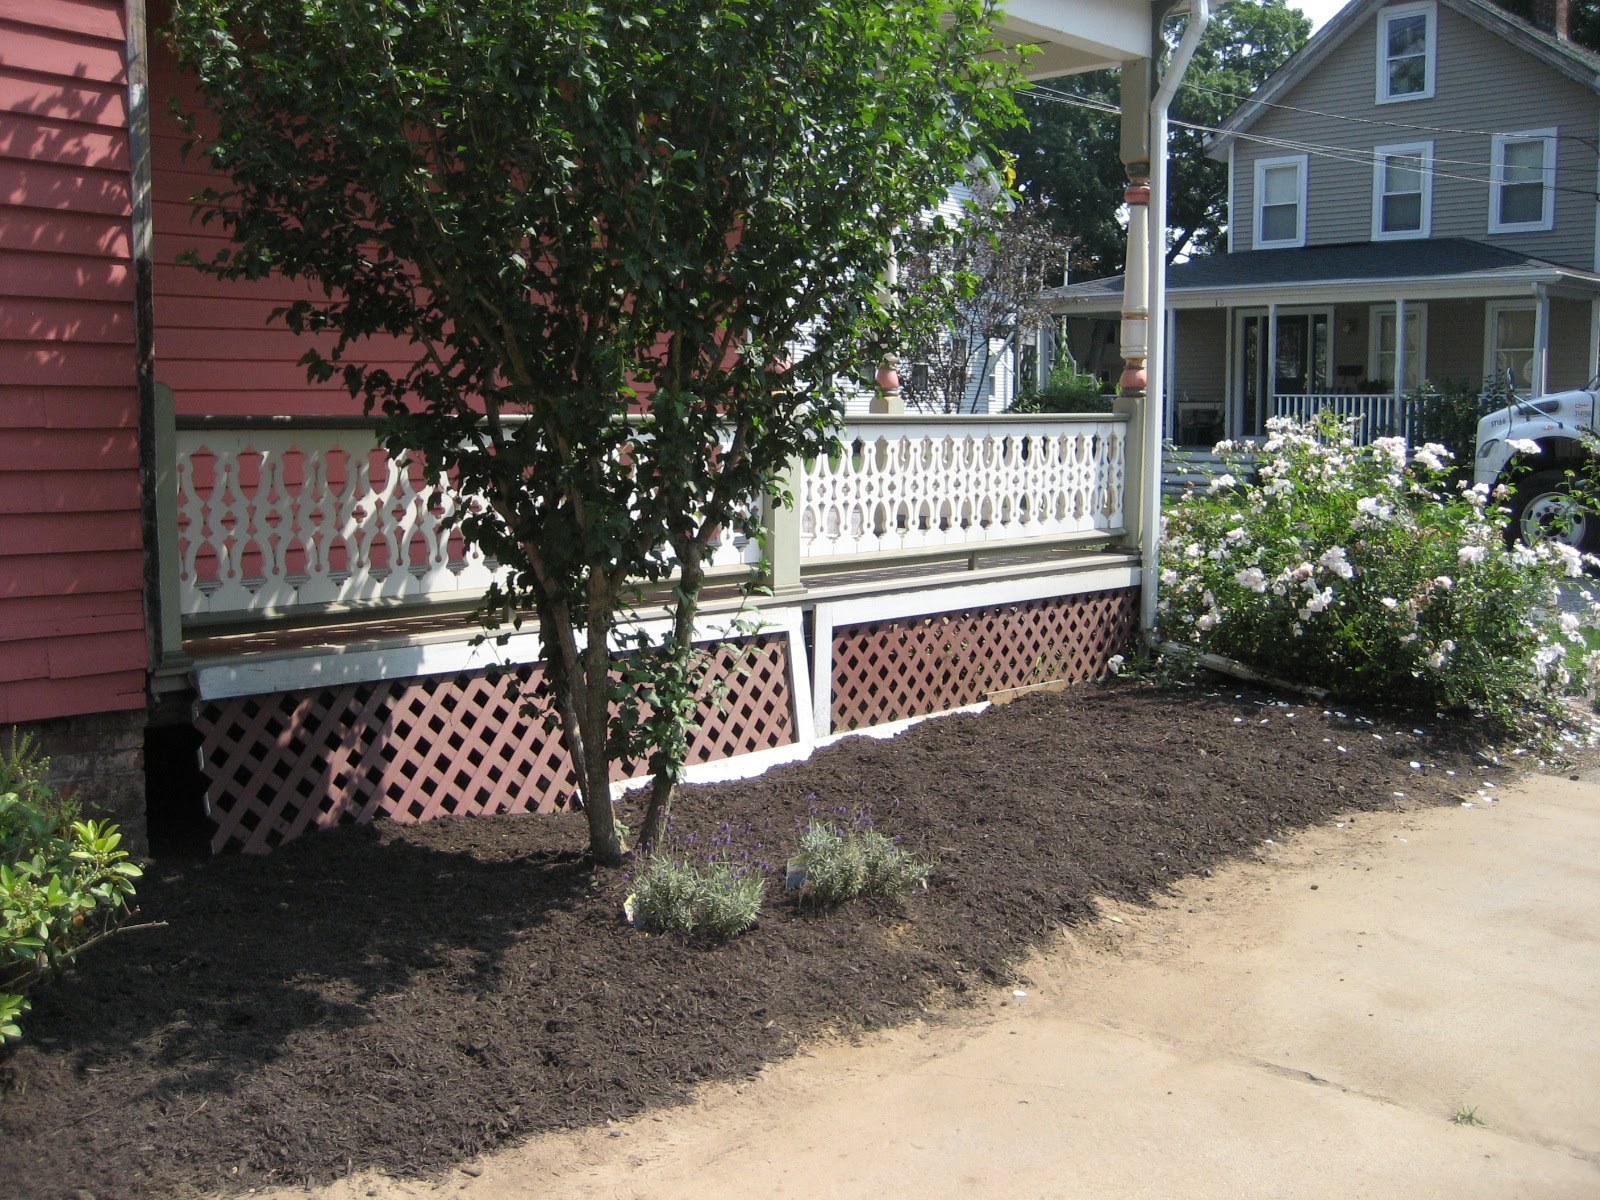
Jim also got a truckload of mulch to help clean up the foundation plantings.  And remember the hated azaleas?  Well those have been pulled out now to make room for something better.  Thank you Toyota truck and big chain.

This is my favorite time of the year for the front yard plantings.  Everything is in bloom and the rose bushes are going crazy.


And in the front, you can also see that MGZ added the shaped cedar shingles to the front peak.  Jim has also been working to get some of the trim boards scraped for painting.

On the north side of the house, Jim also dug out a shape for the foundation.  We plan to extend the brick pavers that are in the front yard over to this side too.  One day.  For now, it's defined and has mulch.


This coming week will bring the driveway and the garage doors.  It's going to look pretty good when those are done...


And here's the little guy and me.  As you can see, he's quite pleased with the new daddy-son hang out digs!


Thursday, May 27, 2010

On to the Siding


It's been a few weeks since my last post... I started back to work full time, so my blogging has had to suffer a bit.   Normally in our DIY world, that wouldn't mean a whole lot.  However, since we're having this work done by MGZ, a lot has happened.

The framing is finished.  (here's the second floor)

The windows are in.

The roof is up.
The cornice returns are built & tiled.

The trim boards are up.
The cement floor is laid.
The siding is started.

The (custom) frame for the arched window is built.  The epoxy I used to rebuild the sashes a few years back has not held up so great.  That was just stuff I bought at Homer.  I'm hoping/thinking the special Rot Doctor stuff I bought for the porch posts does better.  At some point I may need to re-repair the sashes...

Makes me tired thinking about it!  Luckily, that's all I have to do on this project!


Saturday, May 1, 2010

Framing Continues

This past week was pretty exciting for the Plain Jane Carriage House.  It started on Monday with the crane lifting the steel beam in place to support the second floor.  Here's a video:


With the beam in place, they finished the first floor ceiling/second floor floor.  Here it is in progress:


And finished:
And started work on the stairs.  Here's the opening for them and the parts being prepped.  I think it's called the stringer...?


And here's the opening for the stairs:

Because the first floor ceiling is so high (12') to accomodate Jim's lift, the stairs have to turn.  Here they are finished:


With the floor and the stairs in place, they started framing out the gables for the second floor.  They built these flat on the floor, and then lifted them up with a crane.  They stayed late Friday to get the front and back lifted up and the beam put in place between the two.


Here's a video of them lifting up the front 2nd floor and gable:

It's pretty cool right now because you can see the scale of the garage with the house.


We're using one of the arched windows I reglazed a few years ago to put in the front of the garage so that it matches the front of the house.  Here's Jim working that window out from the back of the attic.


I think he's still trying to decide what to put in it's place.  For now, the plastic will have to suffice.